Installation and License Activation Guide
This guide explains how to download, install, start, and activate EikonalWorks IntensityView on a Windows PC with an x64 system. It is intended for users who already have access to the EikonalWorks portal and a valid subscription or license assignment.
The installation process has two parts:
- Installing the desktop application from the EikonalWorks download page.
- Activating the computer in the License Manager so the application can check out an available license.
The exact appearance of Windows security prompts can vary between Windows versions, browsers, and organization security policies. The screenshots below show the typical workflow.
System requirements
Minimum requirements for Windows x64:
- 4-core CPU, for example Intel Core i5-6600 or comparable.
- 16 GB RAM.
- 100 MB available disk space.
Minimum requirements for Linux:
- 2-core CPU, for example Intel Core i5-4670 or comparable.
- 4 GB RAM.
- 100 MB available disk space.
The installation workflow below is written specifically for installing IntensityView on a Windows x64 PC. Linux availability, packaging, and activation steps may differ.
Before you begin
Make sure the following prerequisites are available before starting the installation:
- You can sign in to the EikonalWorks portal with the account that has access to the product download.
- Your organization has an active IntensityView license or subscription.
- You have permission to install desktop software on the computer.
- The computer has internet access during activation.
- If your organization uses a proxy, VPN, endpoint protection, or application allow-listing, make sure it permits access to the EikonalWorks portal and licensing services.
The installer is downloaded from the portal. The activation code is also generated in the portal, then pasted into the desktop application.
Download the installer
- Sign in to the EikonalWorks portal.
- Navigate to the downloads page: https://eikonal.works/downloads.
- Locate the IntensityView download.
- Click Download.
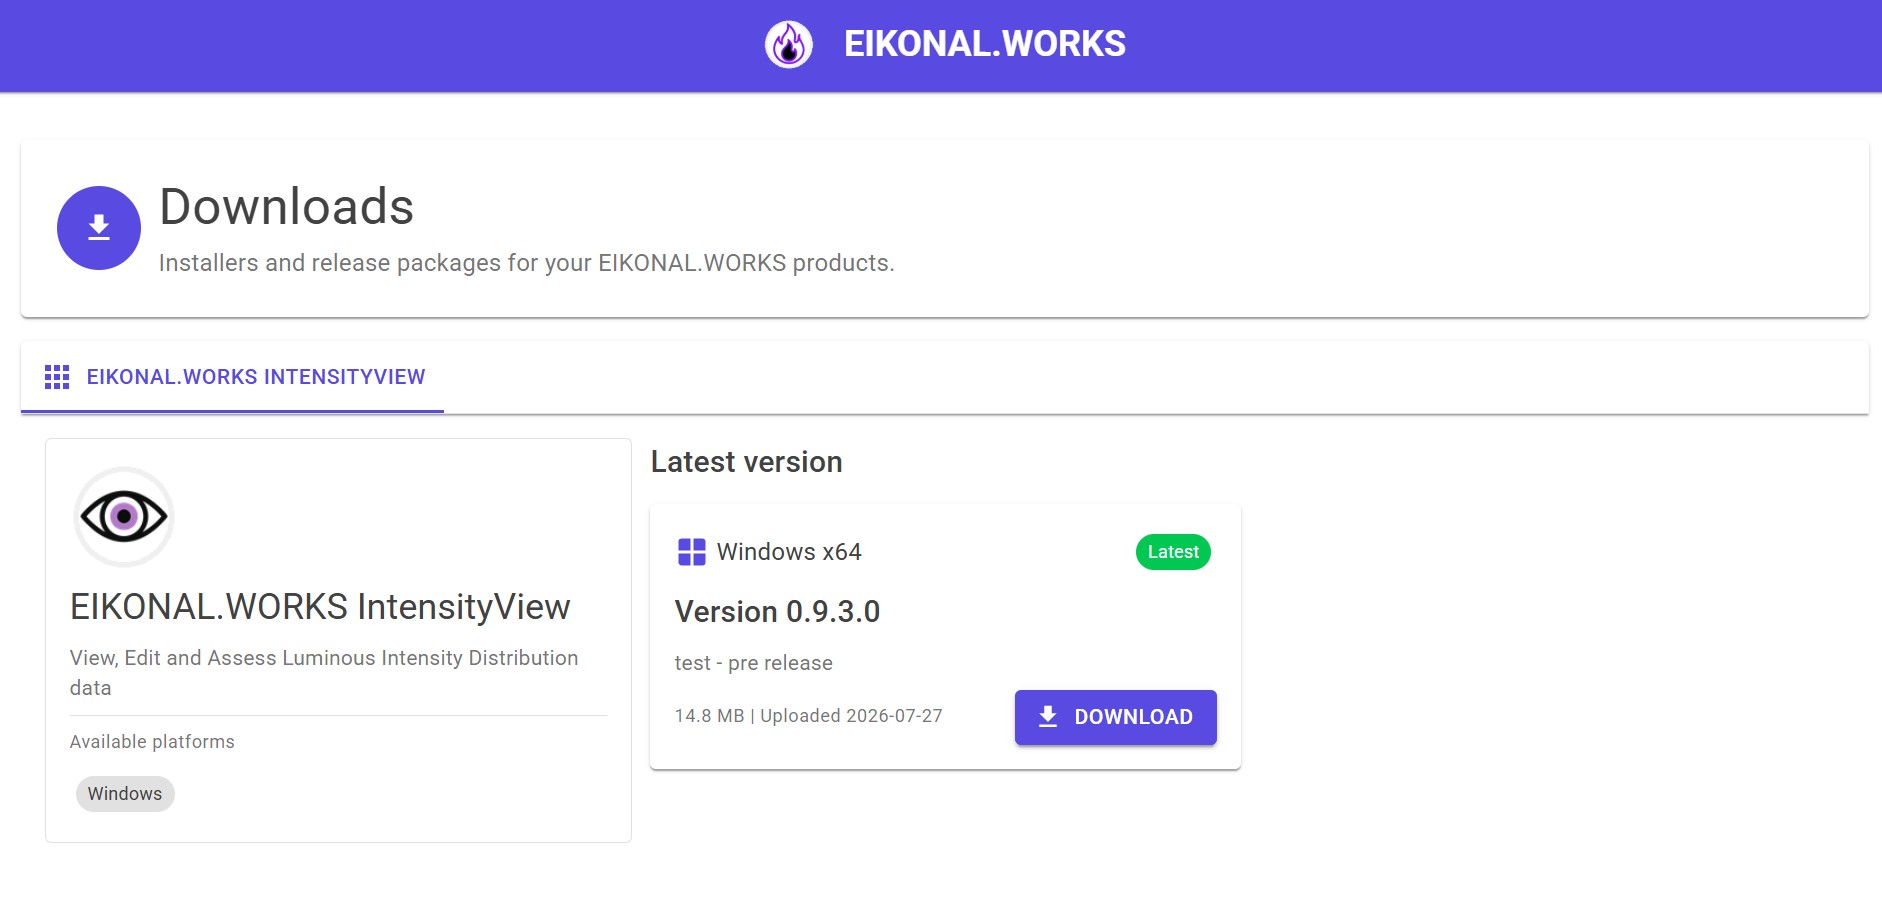
The browser downloads the installer to your default Downloads folder unless you choose another location.
Keep the downloaded file if the browser warns you
Some browsers may show a warning before allowing a newly downloaded installer to be opened. This can happen for legitimate installer files, especially if the file is new or not yet commonly downloaded on that computer.
If the download warning appears:
- Open the browser download prompt or downloads list.
- Choose Keep for the IntensityView installer.
- Confirm the choice if the browser asks for another confirmation.
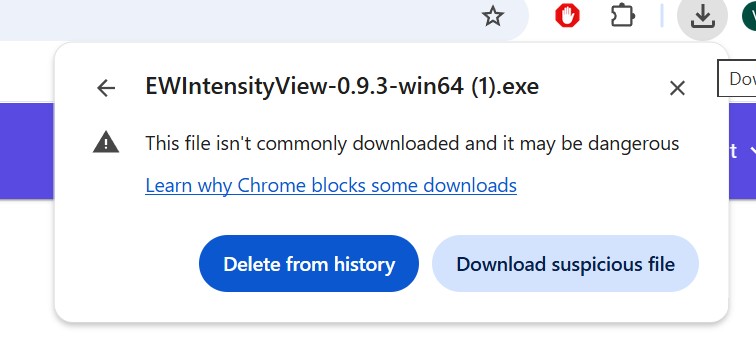
Only keep the file if it was downloaded from the official EikonalWorks portal and the file name matches the expected IntensityView installer.
Start the installer
Open the downloaded installer from the browser downloads list or from File Explorer.
Windows may show a protection prompt before running the installer. This is the Windows SmartScreen protection dialog. If it appears, first click More info.
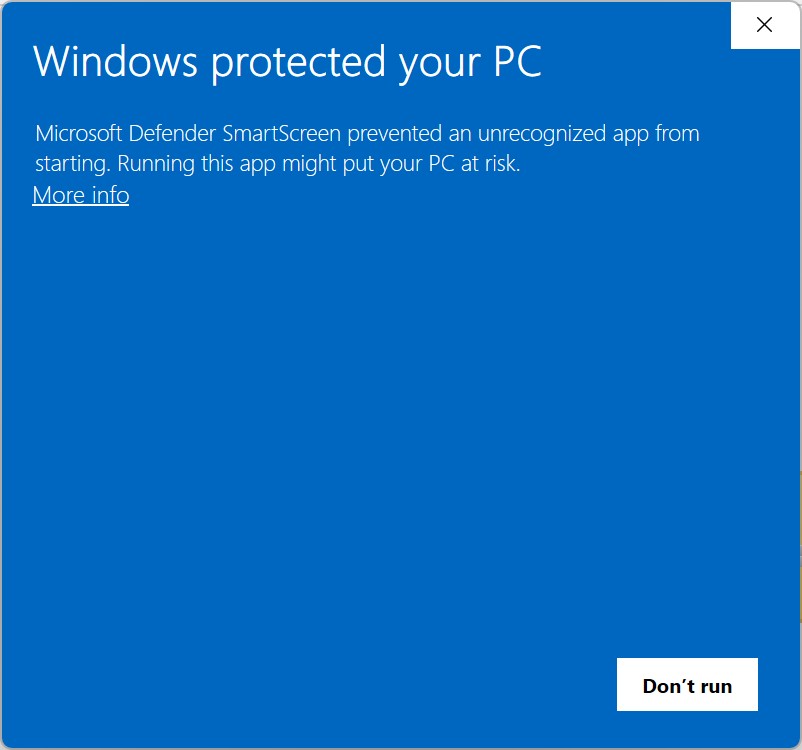
After the additional details are displayed, click Run anyway to start the installer.
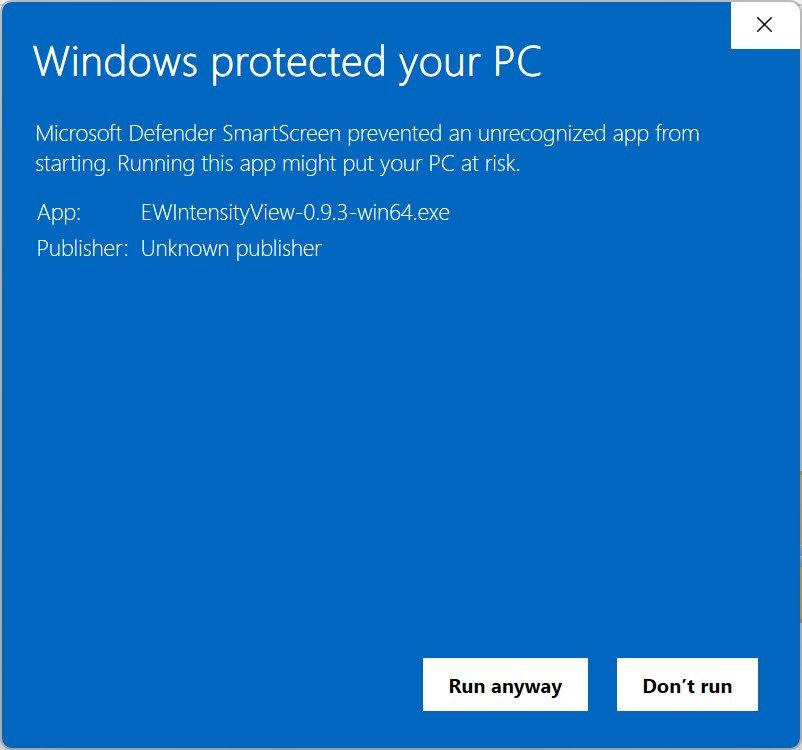
If your organization manages Windows security centrally and the Run anyway option is not available, contact your IT administrator and provide the installer file name and the download source.
Complete the setup wizard
The setup wizard guides you through the installation. The default choices are suitable for most users.
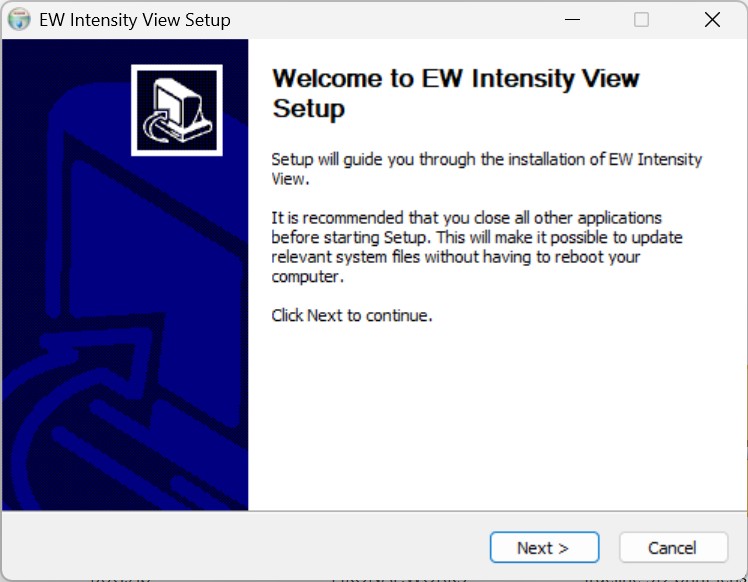
Welcome page
The first setup page introduces the installer. Click Next to continue.
License agreement
Read the license agreement. If you accept the terms, click I Agree.
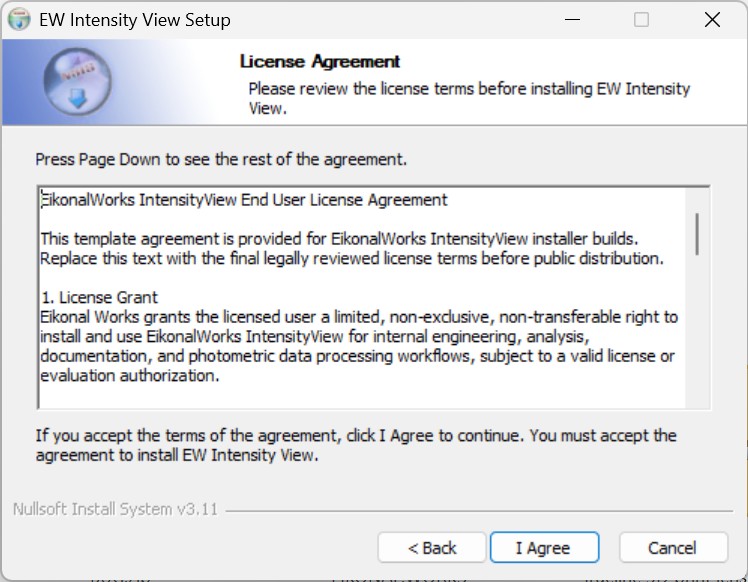
The installation cannot continue unless the license agreement is accepted.
Installation location
Choose the destination folder for the application. In most cases, the default installation directory should be kept. Click Next after confirming the location.
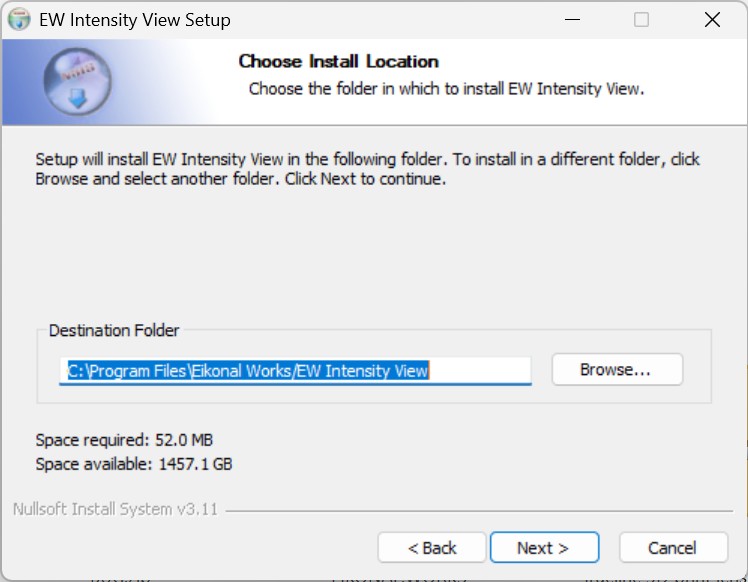
If you install to a custom folder, make sure the chosen location is writable and allowed by your organization policies.
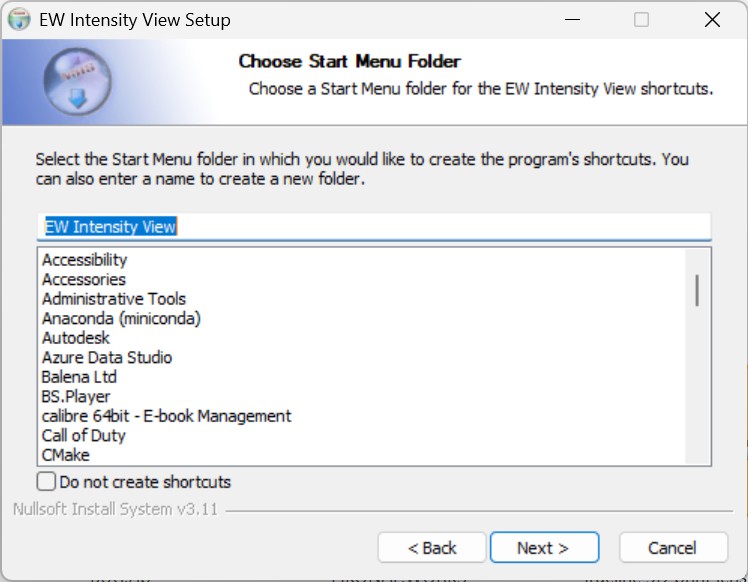
Start menu folder
Choose the Start menu folder where the application shortcuts will be created. The default folder is recommended. Click Next.
Components
Select the components to install. For a normal workstation installation, keep the default component selection and click Install.
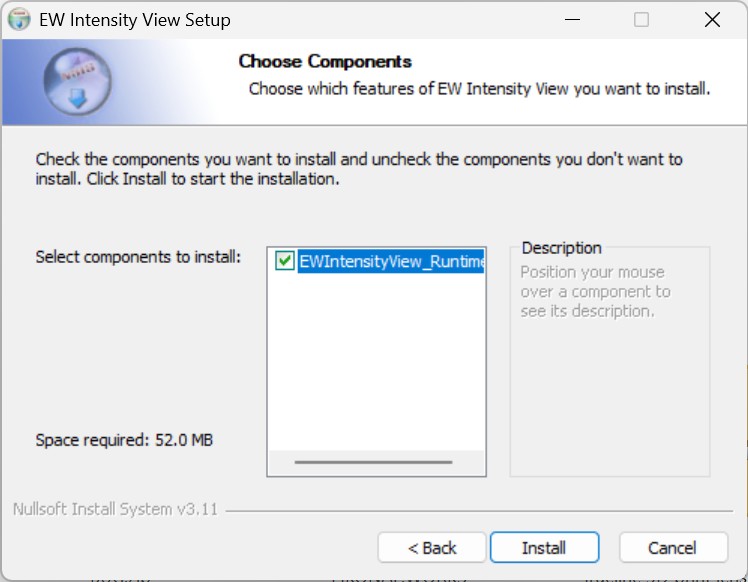
The installer copies the application files and creates the selected shortcuts.
Finish setup
When the installation is complete, click Finish.
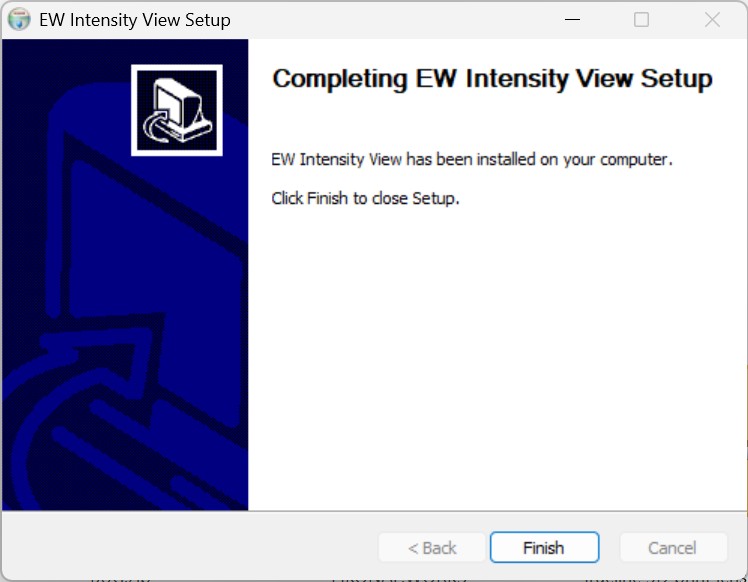
IntensityView is now installed, but the first start may still require license activation.
Start IntensityView
Open the Windows Start menu and search for EikonalWorks IntensityView. Click the application shortcut to start it.
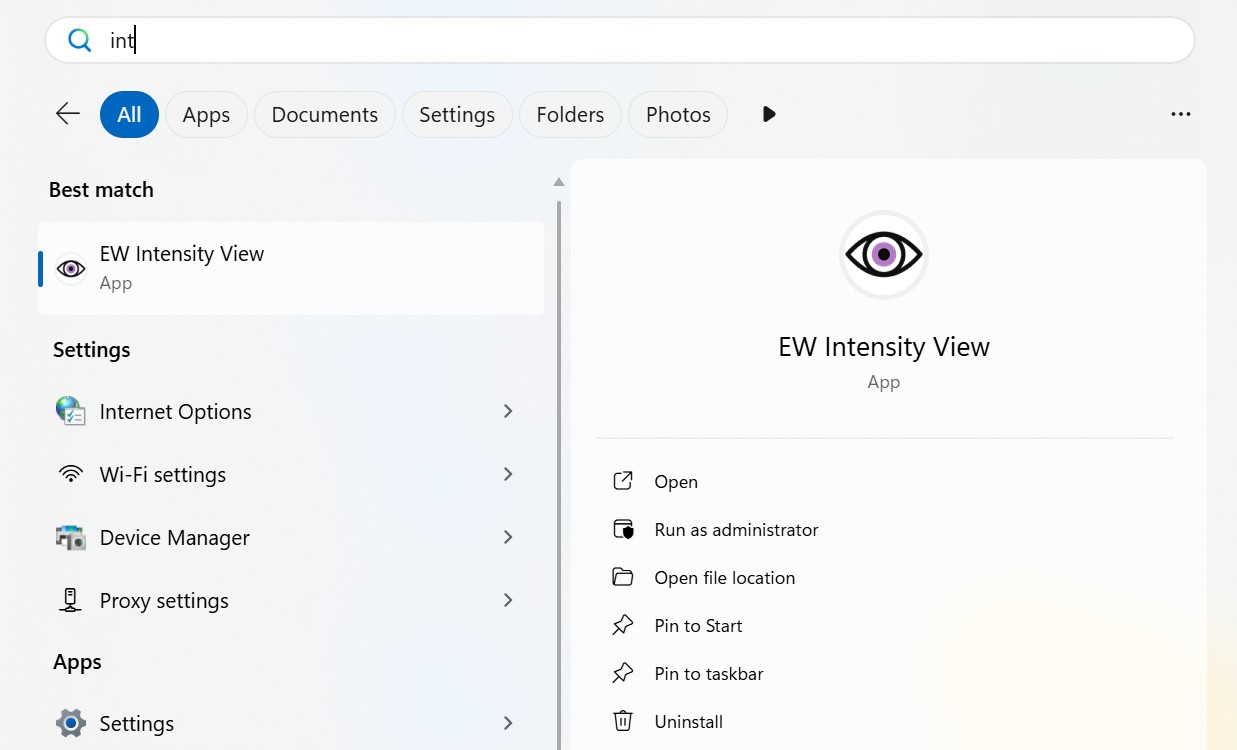
If the application has not been activated on this computer yet, the License Manager opens automatically on first start.
Understand floating license activation
EikonalWorks licenses start as floating license codes in the portal. A floating license is managed centrally and can be used by eligible computers that have been activated into the license pool.
Activation does not permanently consume the license for one computer. Instead, activation registers the computer as eligible to use the license pool. When IntensityView starts, the application can check out one of the available floating licenses. When the license is released, another eligible user or computer can use the available seat according to the license terms and current availability.
This means:
- The activation code is generated in the EikonalWorks portal.
- The activation code is pasted into the License Manager in the desktop application.
- Successful activation adds the computer to the eligible license pool.
- The application then checks out an available license when it is used.
- If no license seat is available, the application may not be able to start fully until a seat becomes available or the license configuration is changed.
Open the License Manager on first start
On a computer without an activated license, IntensityView displays the License Manager window automatically. The window shows that no usable license has been configured yet.
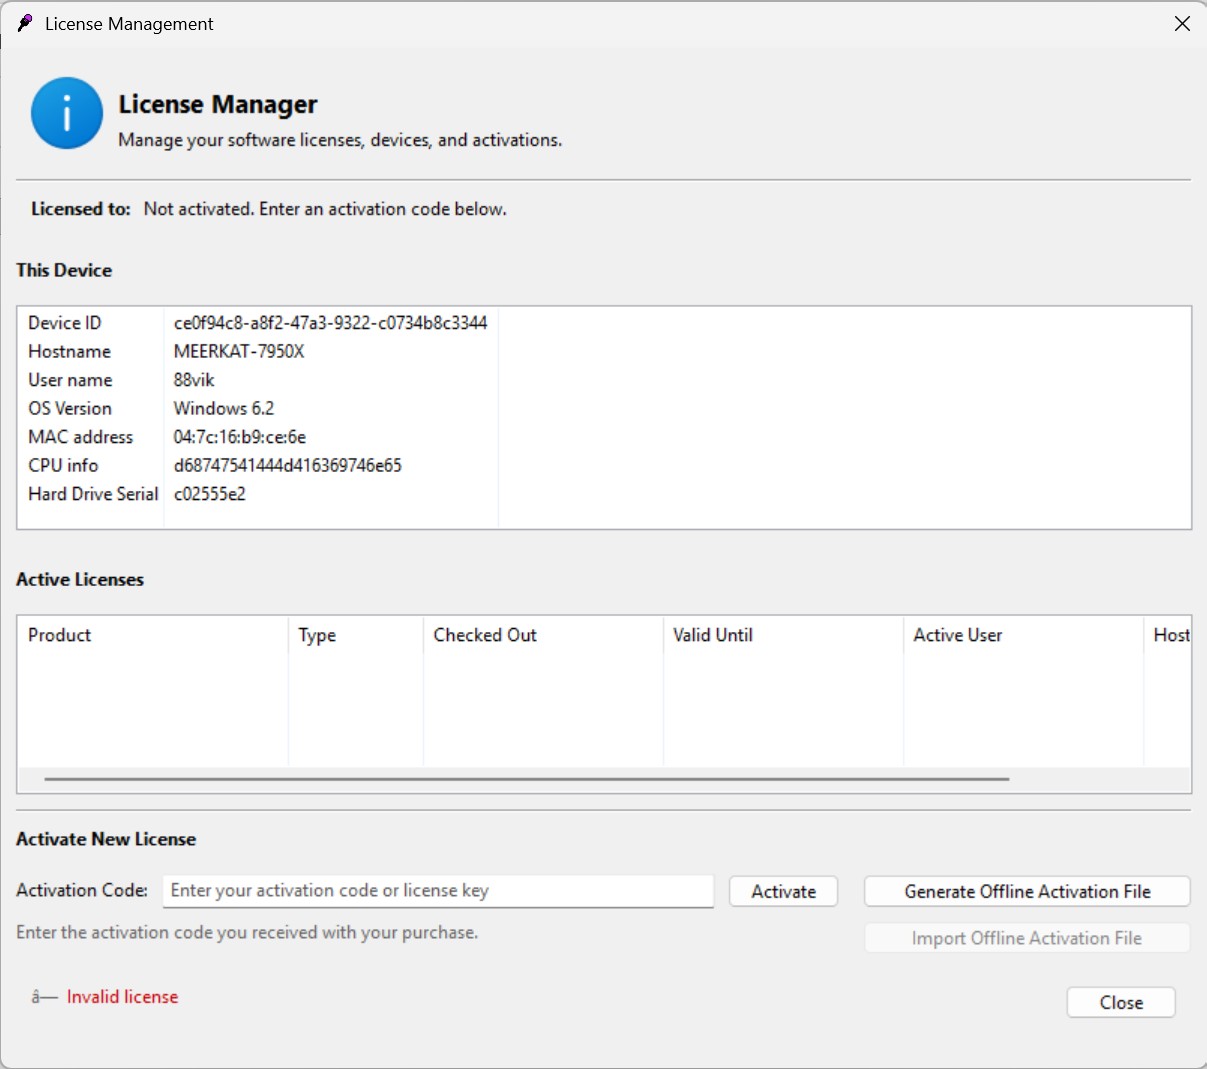
Keep this window open while you generate the activation code in the portal.
Generate the floating activation code
- Return to the EikonalWorks portal in your browser.
- Open the portal navigation menu.
- Go to Subscriptions.
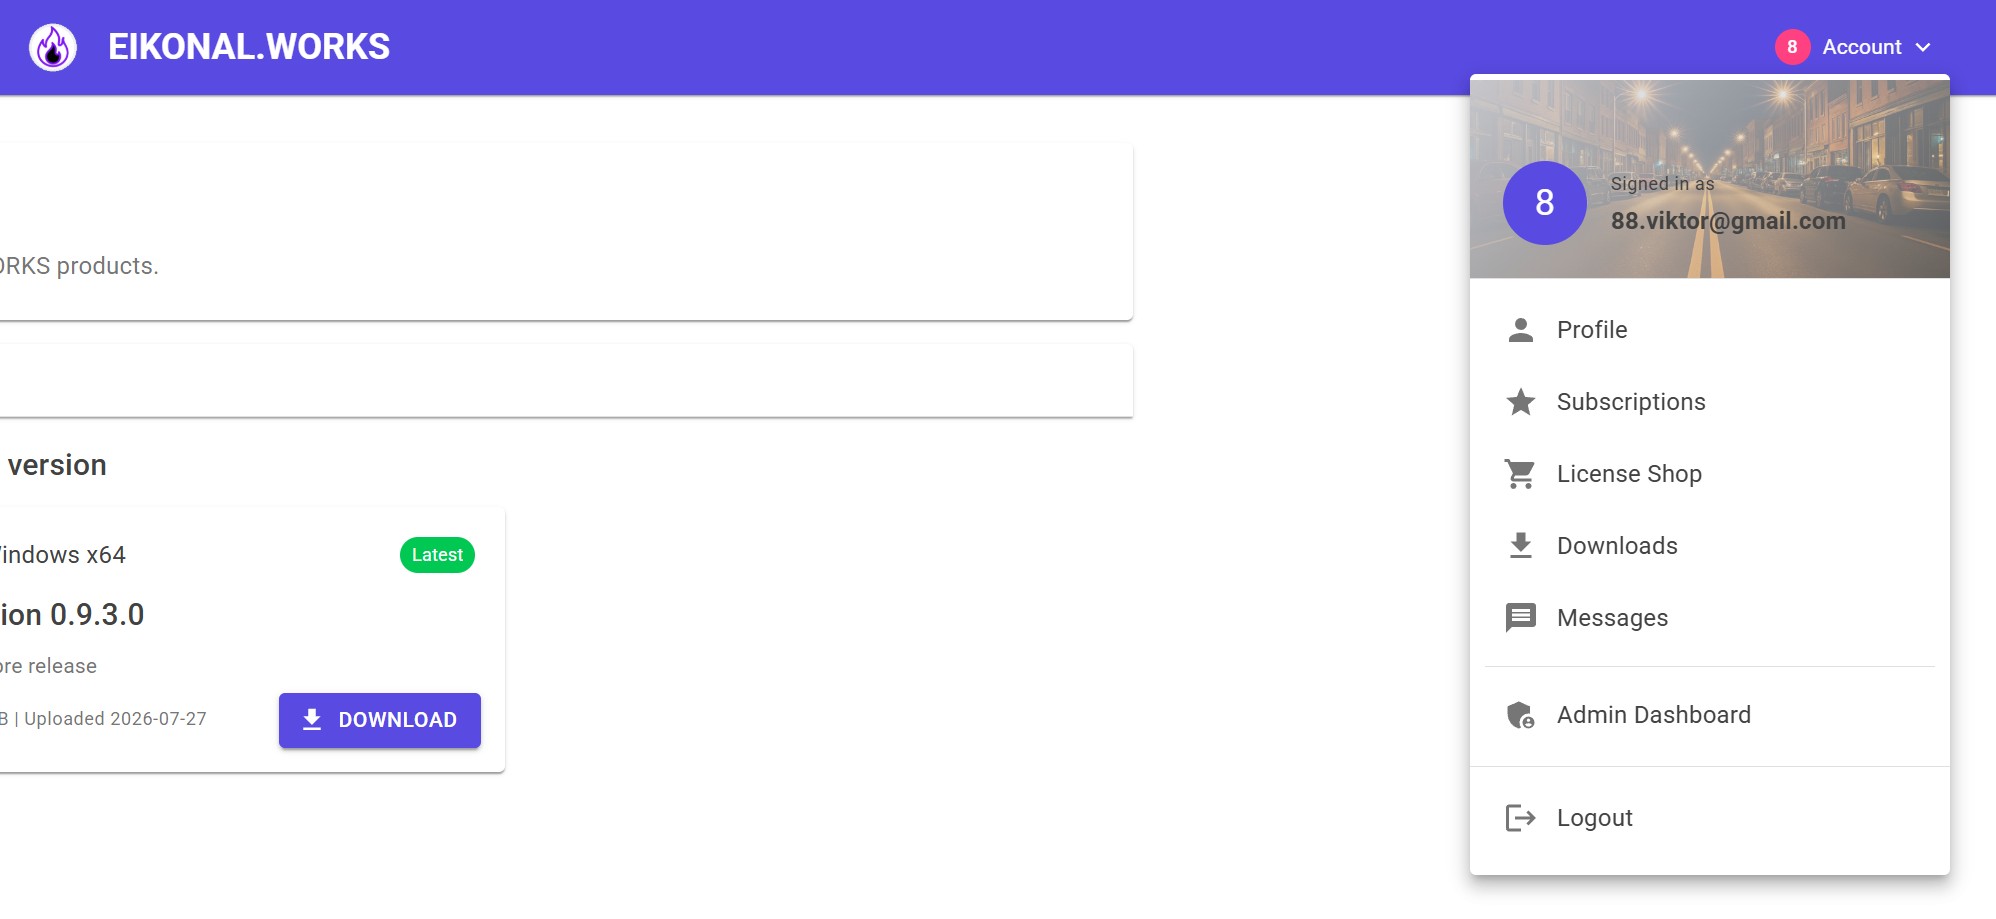
On the subscription page, locate the relevant IntensityView license or subscription and click Generate Floating Code.
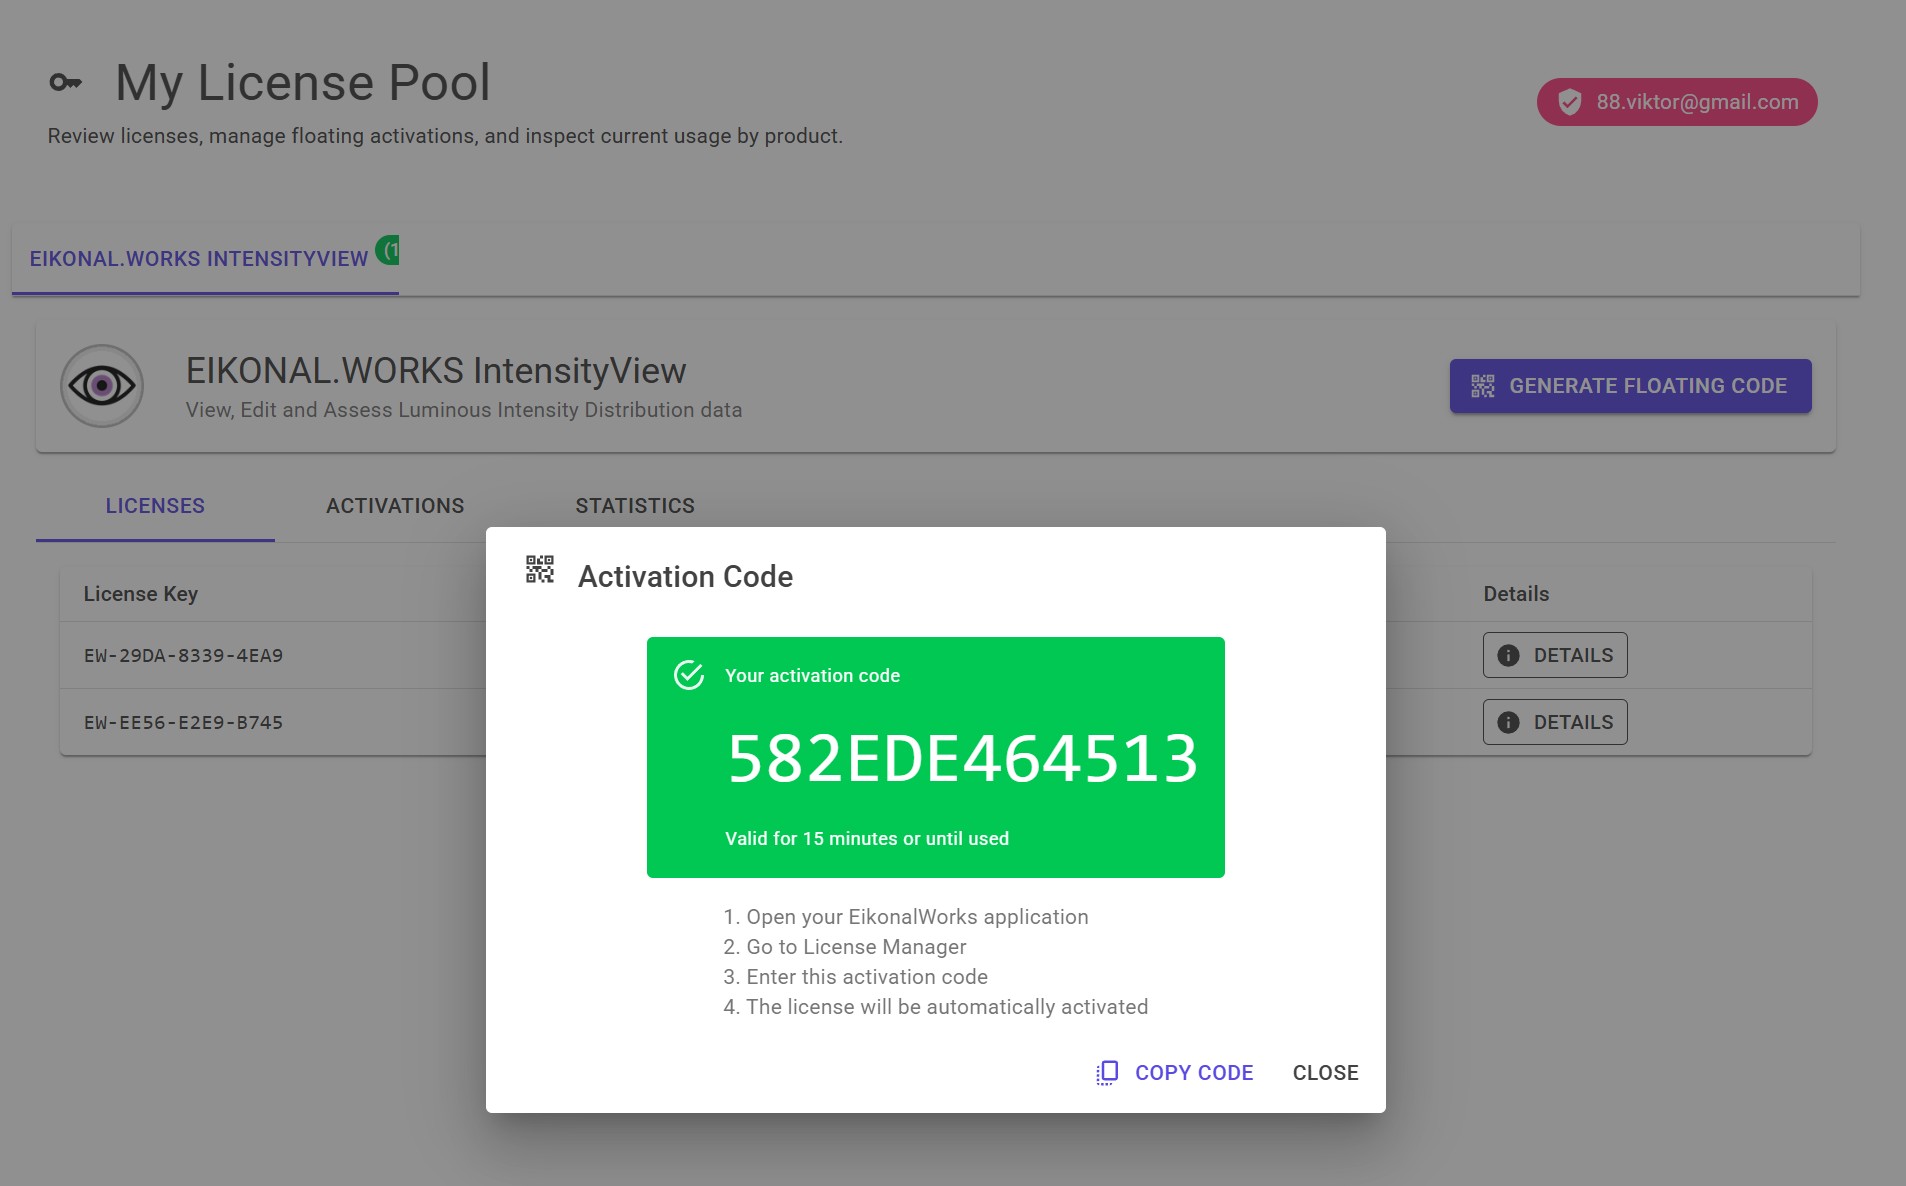
The portal generates an activation code. Copy the generated code exactly as shown. Avoid adding extra spaces before or after the code when copying it.
Activate the computer in IntensityView
Return to the License Manager window in IntensityView.
- Paste the copied activation code into the Activation field.
- Review the pasted value and remove accidental leading or trailing spaces if needed.
- Click Activate.
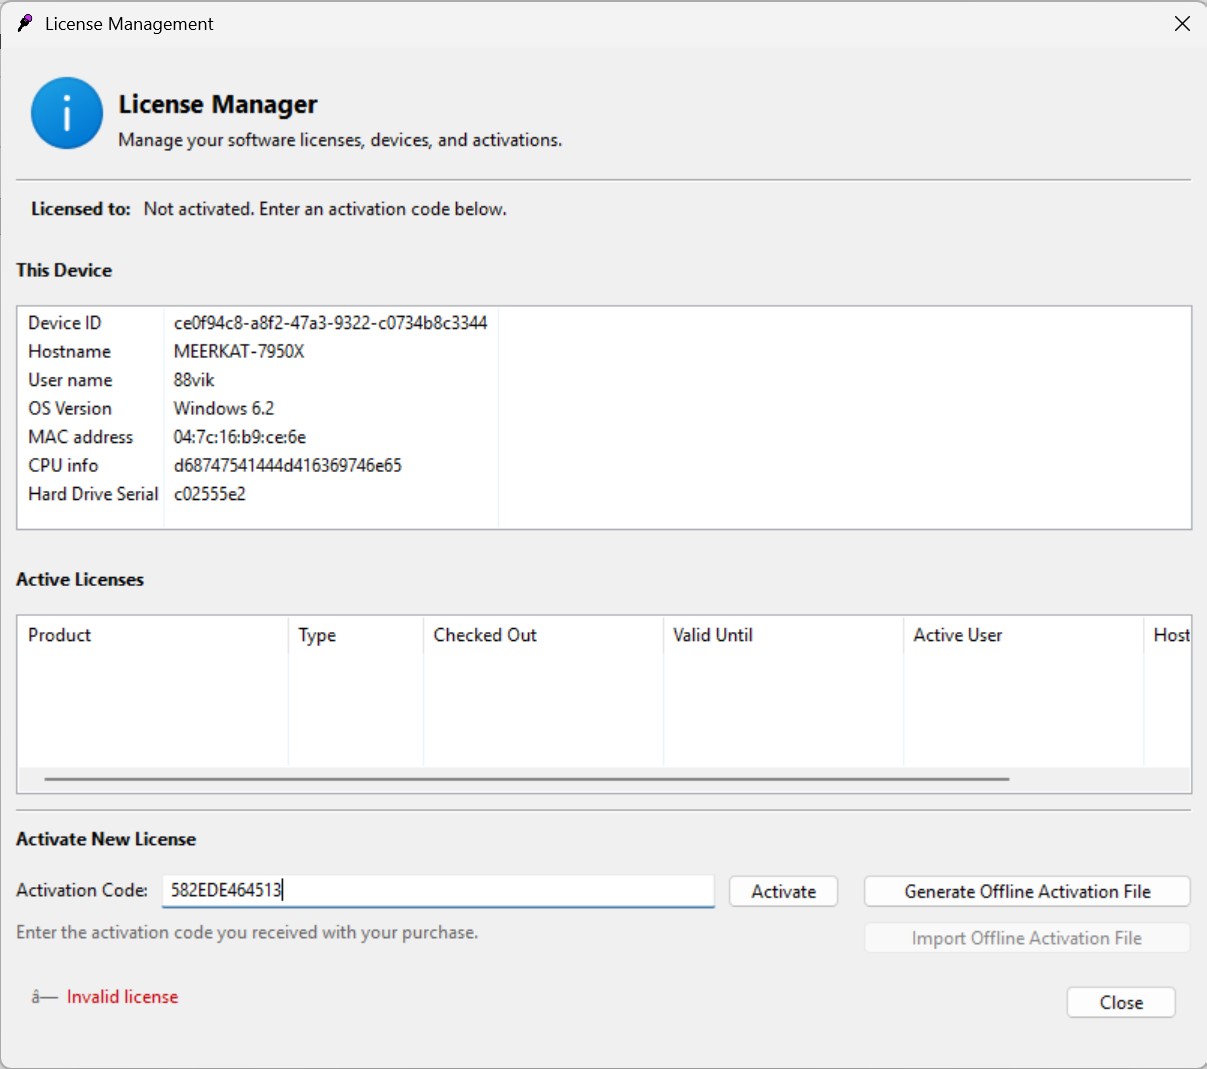
The application contacts the licensing service and verifies the activation code. The computer is added to the floating license pool if the code is valid and the subscription permits activation.
Confirm successful activation
After successful activation, IntensityView displays a confirmation prompt.
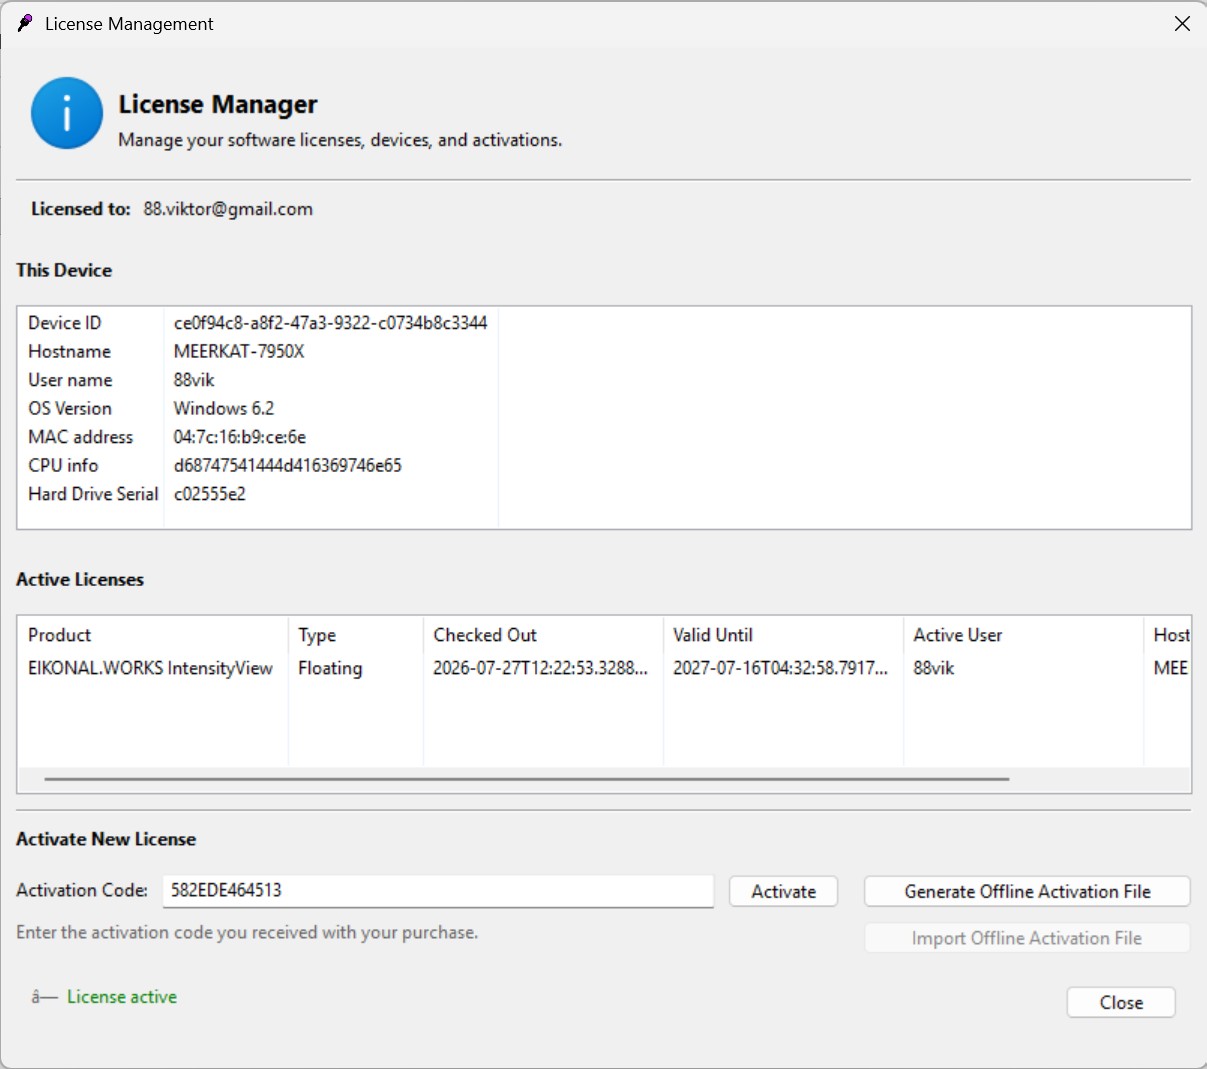
Click OK to close the prompt. You can then close the License Manager window. IntensityView continues starting and is ready to use.
If activation does not succeed
If the activation fails, check the following items before trying again:
- Confirm that the activation code was copied from the correct subscription.
- Make sure the whole code was pasted, without missing characters.
- Remove accidental spaces or line breaks before and after the code.
- Confirm that the computer is connected to the internet.
- Confirm that the organization firewall, proxy, or VPN allows access to the EikonalWorks licensing service.
- Check whether the subscription is active and includes IntensityView access.
- If the code has expired or was regenerated, create a new floating activation code in the portal and use the new value.
If the problem remains, contact your license administrator or EikonalWorks support. Include the account name, subscription name, approximate activation time, and the error message shown by the License Manager. Do not send passwords or unrelated account credentials.
After installation
After the application starts successfully, you can begin opening photometric files from the application workspace. The main documentation sections that are useful after installation are:
The License Manager can also be opened later from the application help or settings menu if you need to review license status, activate another license, or diagnose checkout availability.